
Packaging the Revver MSI for deployment via Intune
These are general instructions for installing Revver via Intune. Before proceeding you should have some familiarity with adding a Win32 app to Intune. You will also need to know how to use the Microsoft Win32 Content Prep Tool.
IMPORTANT
This is a general guide for the basic steps. It is likely that file names and locations may change over time. The following steps will need to be done on a Windows computer.
Here are the basic resources you should be familiar with before continuing:
Win32 app management in Microsoft Intune
Prepare Win32 app content for upload
Microsoft Win32 Content Prep Tool
Download the necessary files
- Download the Revver msi file here.
- Download the Microsoft Win32 Content Prep Tool here.
- Download the Revver icon here.
Prepare the Revver file using the Content Prep Tool
- Use File Explorer to navigate to the IntuneWinAppUtil.exe file
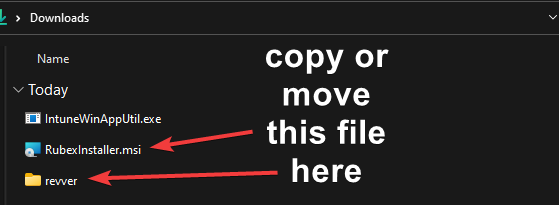
- While not required, to simplify things you can create a new folder (call it "revver" or something similar) in the same folder where IntuneWinAppUtil.exe is located. Copy or move the RubexInstaller.msi file to that folder (right click and drag to copy).
-
- Double click on the IntuneWinAppUtil.exe to open the app
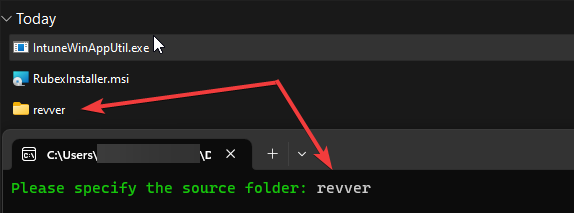
- Enter the name of the folder that contains the RubexInstaller.msi file. If the folder is not on the same level as the IntuneWinAppUtil.exe app then you will need to enter the full path of the folder.
-
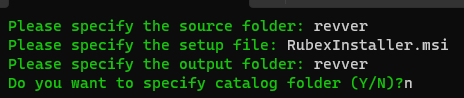
- Enter the name of the Revver msi file (example: RubexInstaller.msi)
- Enter the name of the output folder. I recommend you type the same folder name. Type "n" when it asks you if you want to specify a catalog folder.
-
- Press "Enter" and wait for the app to finish. This process can take several minutes.
Add the newly created file to Intune
- Login to Intune as an administrator.
Verification
"C:\Program Files (x86)\eFileCabinet, Inc\Rubex\Rubex.exe"