
Finance Bucket Property
Dashboard can be found here
We have a field on our bugs and stories called Finance Bucket. We use it to quickly find how many work items were completed each month in particular categories that we use in some of the reports we send to finance at the end of each month.
We have a dashboard in ADO as well, where you can see the numbers from the previous month.
Adding a New Option
Update ADO Field
To change the selectable options in this field, use the following steps
- You may need certain admin permission in order to do this
- Go to https://dev.azure.com/eFileCabinet
- Click on Organization Settings in the bottom, left hand corner
- Click on Process in the navigation bar along the left side of the screen
- Make sure you have the Processes tab selected, and click on Custom Agile (which may be hidden under the Agile (default) dropdown.
- Click on the Story item
- Click on the three dots when hovering the Finance Bucket field, and select the Edit option in the dropdown that appears
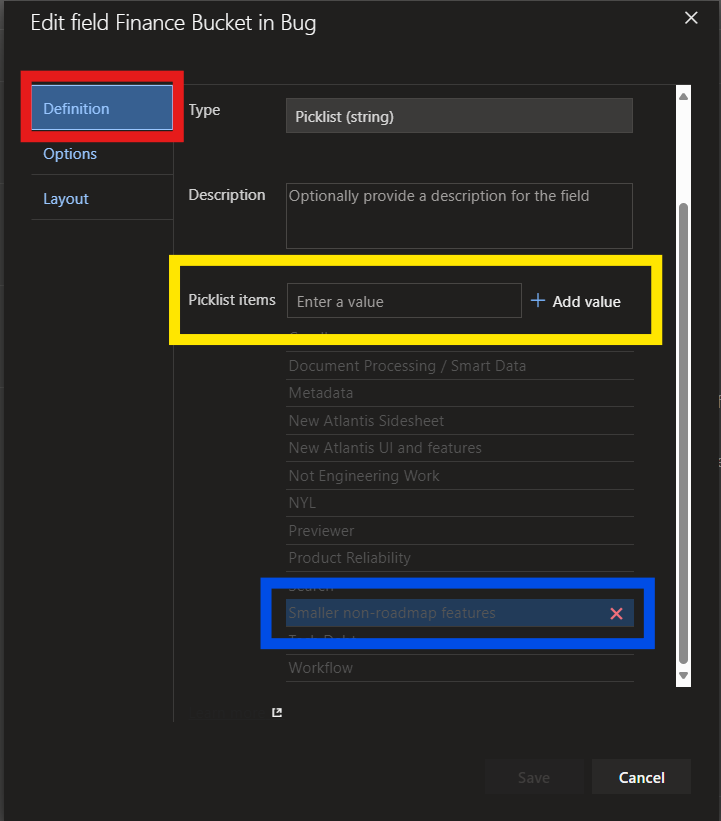
- In the modal that pops up, select the Definition tab (outlined in RED)
- You can add options by entering text in the text input next to Picklist Items and clicking the '+' icon next to it (highlighted in YELLOW)
- You can remove items by hovering an item, and clicking the red 'X' icon that appears (outlined in BLUE).
- Make sure you hit the Save button near the bottom right corner when you are finished.
- This will update the options on both bugs and stories. You don't need to repeat these steps for the Bug work item definition.
Updating the Dashboard
The dashboard can be found here and you will need permission to edit the dashboard. At the time of this writing Quinn, Royce, David, and Kelsee should all have permission to do this. All the queries that power this dashboard are in the Monthly Finance Report folder.
No Comments