Legacy - Pangea
- Building and Publishing Pangea
- Pangea - Caselle Setup (Multi-Instance)
- Builds w/ Client Id and Secret we can hand to customers
Building and Publishing Pangea
Running Pangea
- Import the signing certificate
- Use Windows Explorer to navigate to Pangea\Migration\Tandoori Tool\Tandoori Tool and double click efcKey.pfx.
- This will pop open a wizard to walk you through importing the signing certificate.
- Just hit next and leave all setting to default until you prompted to enter the password.
- The password can be found in the '.pfx certificate' secure note in last pass.
- You may also need to update Publishing\sign_file.bat with the correct password
- The password can be found in the '.pfx certificate' secure note in last pass.
- You should be good to go. Just hit Start in visual studio.
Publish w/ the Pangea Build Pipeline
This happens automatically when you merge pull requests into the master branch.
- Update the 'AppVersionInfo' attribute in TandooriTool.csproj file with an updated version number.
- Merge this change into the master branch.
Local Publishing Instructions
We have a build pipeline that does this for you, but if you ever do need do a build locally you can follow these steps.
- Update the 'AppVersionInfo' attribute in TandooriTool.csproj file with an updated version number.
- Clean and Rebuild the entire solution in the 'Release' configuration and 'any cpu' platform selected.
- Update Pangea/Publishig/publish_base.bat so that the variable 'msbuild' looks similar to 'C:\Program Files\Microsoft Visual Studio\2022\Professional\MSBuild\Current\Bin\MSBuild.exe'.
- Update sign_file.bat with the correct password
- The password can be found in the '.pfx certificate' secure note in last pass.
- You can now run 'publish_production.bat' and 'publish_staging.bat' to create all the files that need to be published to S3. They can be found at Pangea\Publishing\output.
Pangea - Caselle Setup (Multi-Instance)
Prerequisites:
-
Need Registration Key and Subscription Key
- You'll need login credentials in The Hub with the Multi-Instance Feature added to the license for the associated keys
- Pull down the zip file for the Multitenant Desktop build: https://v953w.app.goo.gl/MM4h
Go to C:\Program Files (x86)\eFileCabinet 5\Server and start the Caselle Document Management Server Wizard
Create your administrator password
Then use the Download Keys button to put in your Hub credentials. This will populate the Registration Key, and Feature Keys in the Feature Keys tab.
Use the Manage Instances button to add or remove instances.

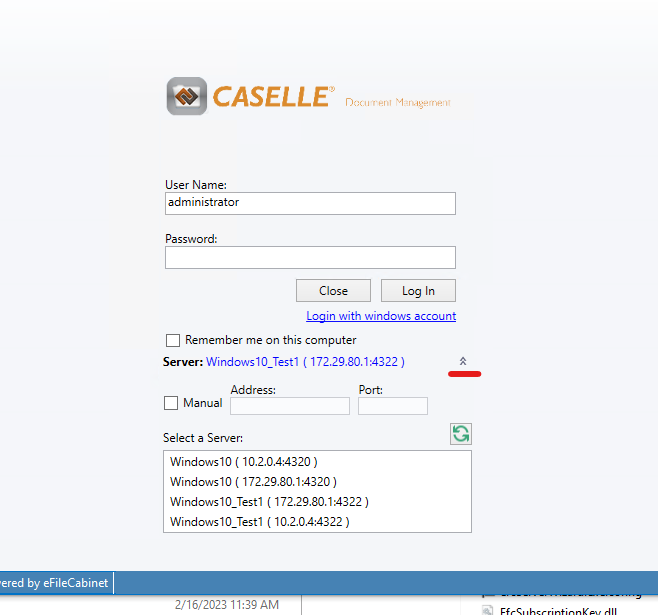
Currently you won't be able to hit next, but go to the Caselle Document Management Client and you should see the instance options under the server dropdown.
When selecting a newly set up instance use administrator as the User Name and leave the Password field blank and click Log In.
You'll be able to set the password once you've logged in.
Builds w/ Client Id and Secret we can hand to customers
- If needed, Ops team needs to add a new client application and you need to get the client id and secret to use from them. It should have the following data (may need to be updated in the future). Existing ids and secrets can be found in the Last Pass Note named 'Extra Pangea Clients'. If a new one is created, add it to this last past note.
- Name: Revver Migration Tool
- Website: https://www.revverdocs.com
- Description: Migration tool to copy account data from one Revver platform to another.
- Organization: Revver
- IsEnabled: true
- AcceptedTermsOfUse: true
- AllowRefreshToken: true
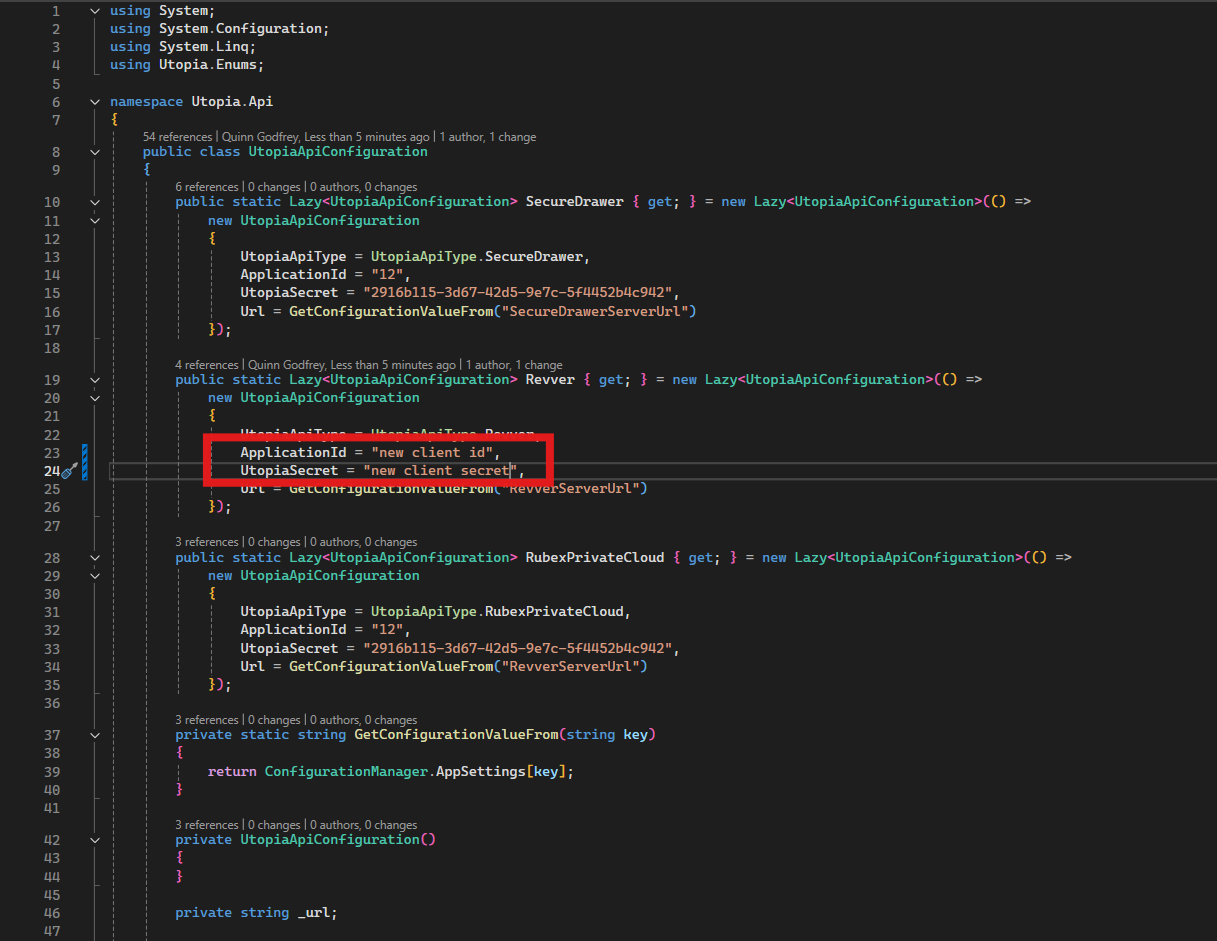
- In source code, on a branch off of master, in the Utopia.Api.UtopiaApiConfiguration file, update the ApplicationId and UtopiaSecret properties for the Revver configuration with the new client id and secret.
-
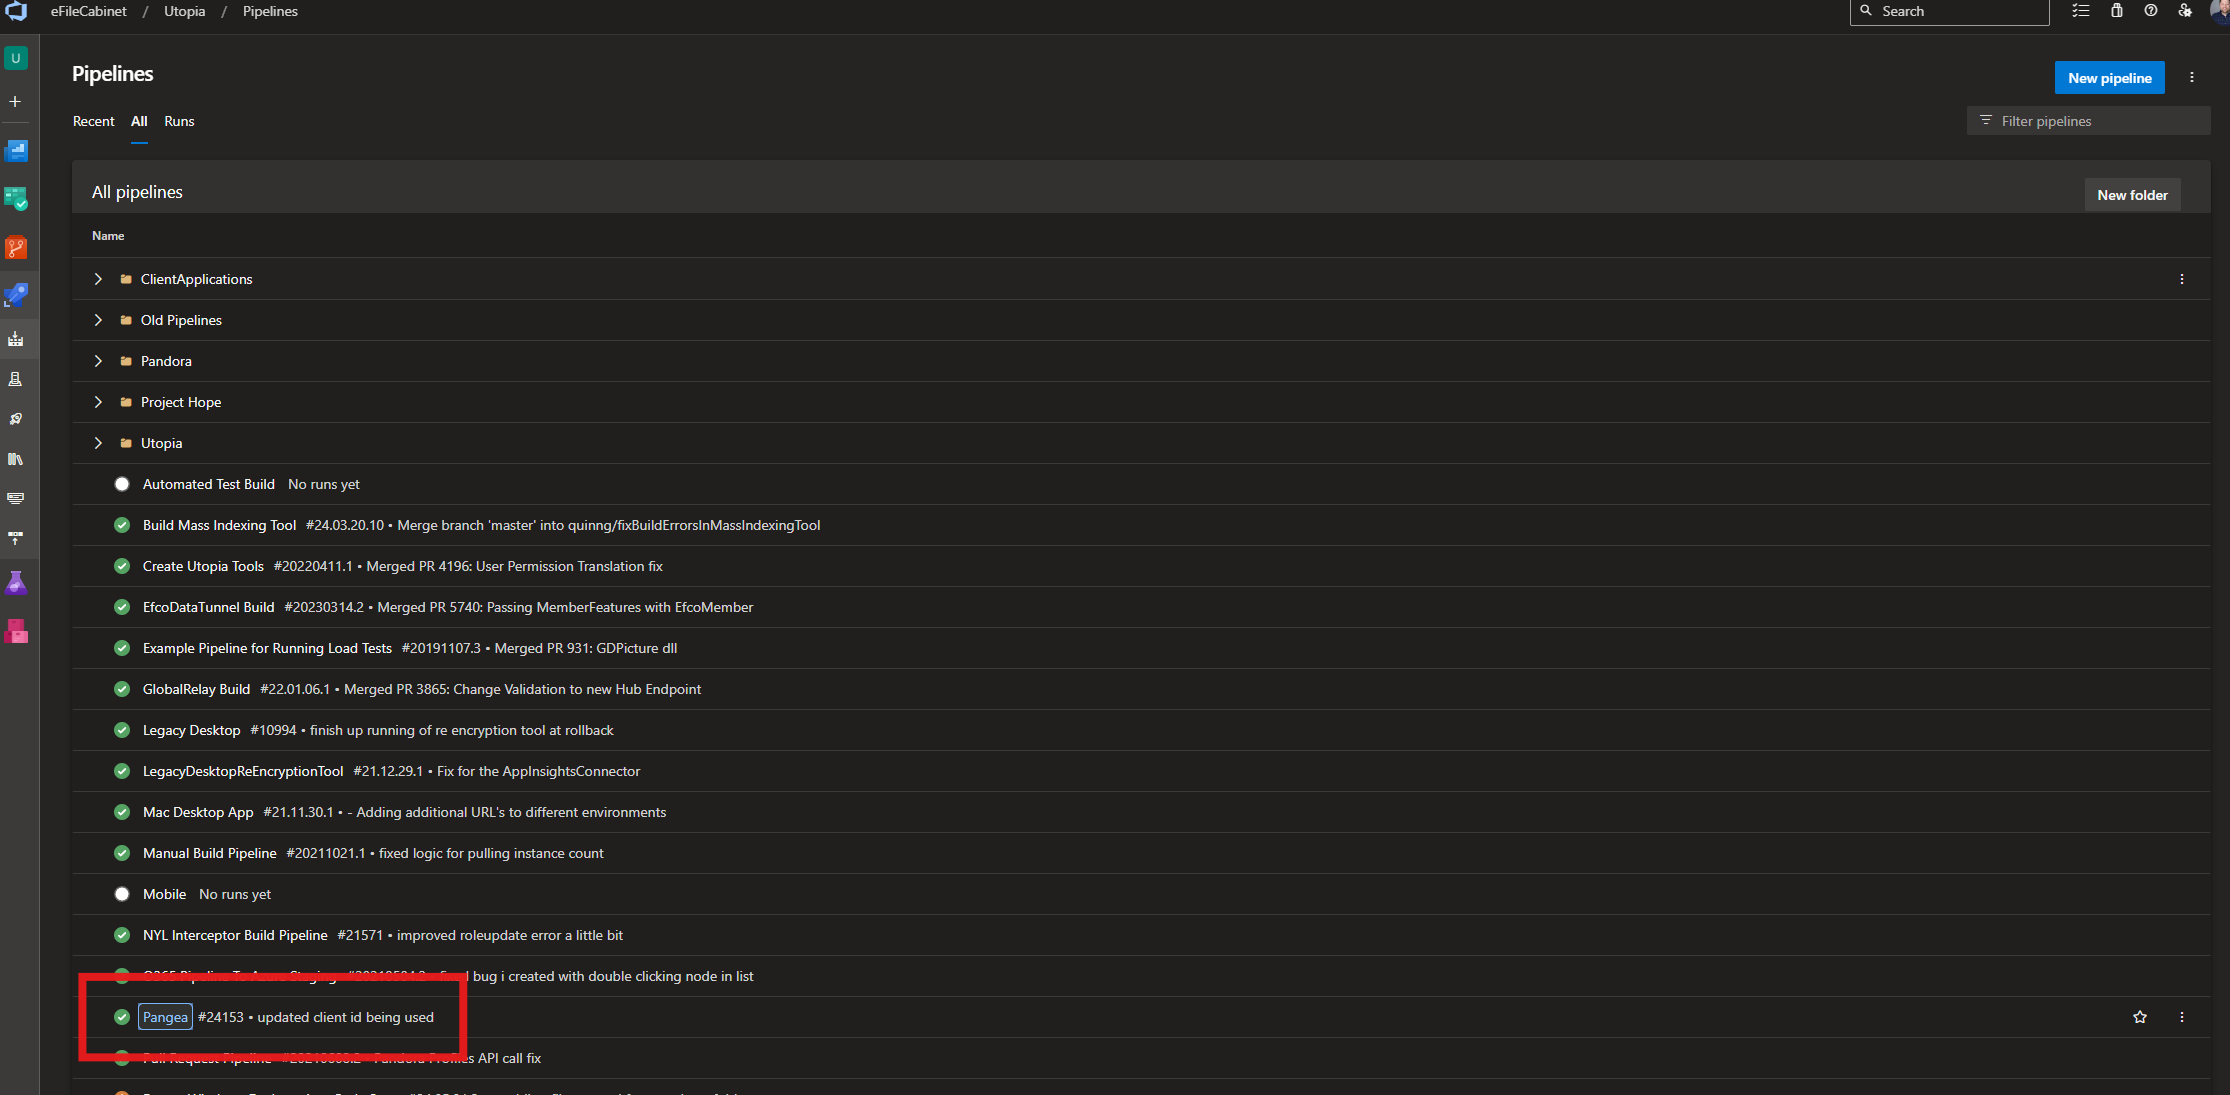
- Commit and push your changes to the repo so you can do a Pangea build in ADO off of your branch.
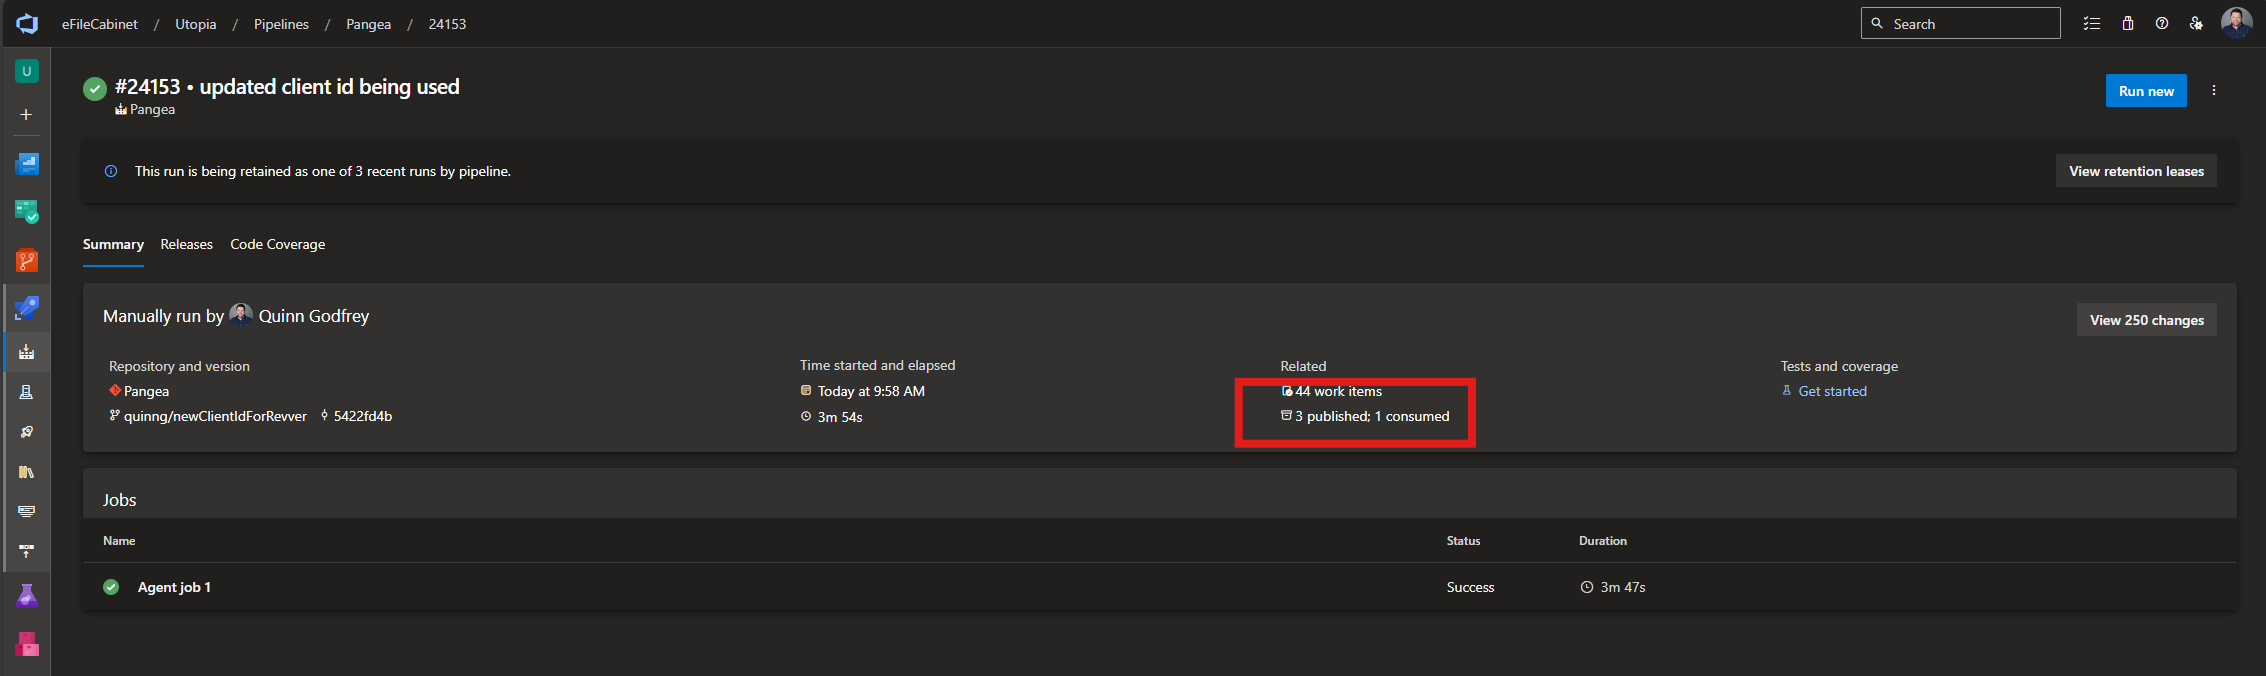
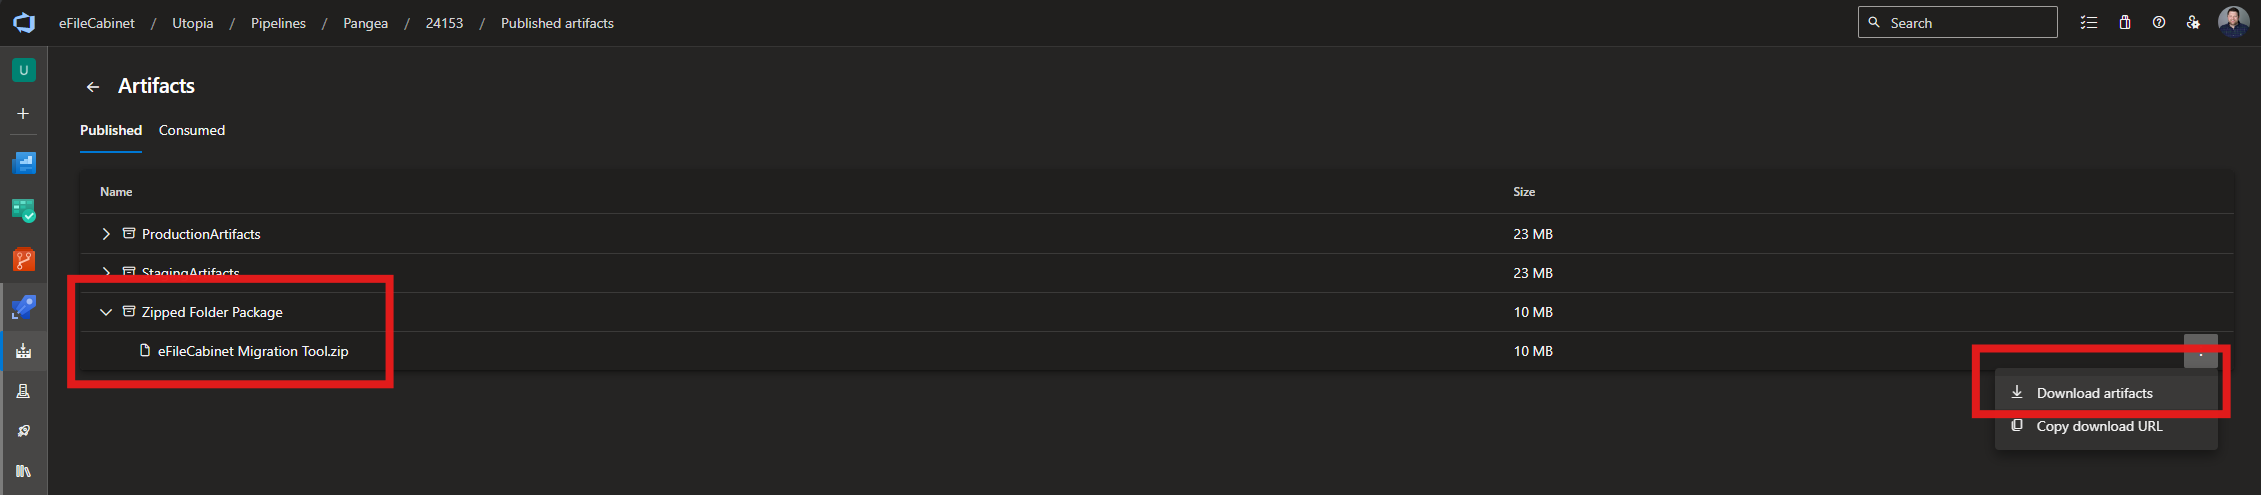
-
- Once the build is complete download the Zipped Folder Package / efilecabinet Migration Tool.zip artifact.